


Are you looking for a fun way to kick off your year to Chemistry? Here are two demos that you can do for your classes to help get them excited about Chemistry and science! These are very simple to do and set up and would be great for any age. Enjoy!
The Flaming Dollar Bill!
This is a great demo that is a flashy and exciting for students to see. Be sure to practice proper safety when doing any demo with fire in a lab: have a fire extinguisher next to you and ready to go. Wear safety goggles, tie hair back, do not wear any loose/draped clothing and make sure students are far enough away from the flame. Be sure to remove the fuel source before lighting the bill on fire (move the beaker filled with the isopropyl solution far away from where the demo is taking place, move the bill away from the beaker before lighting it on fire). To make this demo a little more interesting, you could always ask to borrow a dollar from one of your students and see how your class reacts when you light it on fire!! You might want to have a dollar on hand to give them just in case you singe theirs :)

Basic supplies needed for this demo: isopropyl (rubbing alcohol), 250ml beaker, matches/lighter, tongs, dollar bill. Not shown: safety goggles and a fire extinguisher (just in case!).

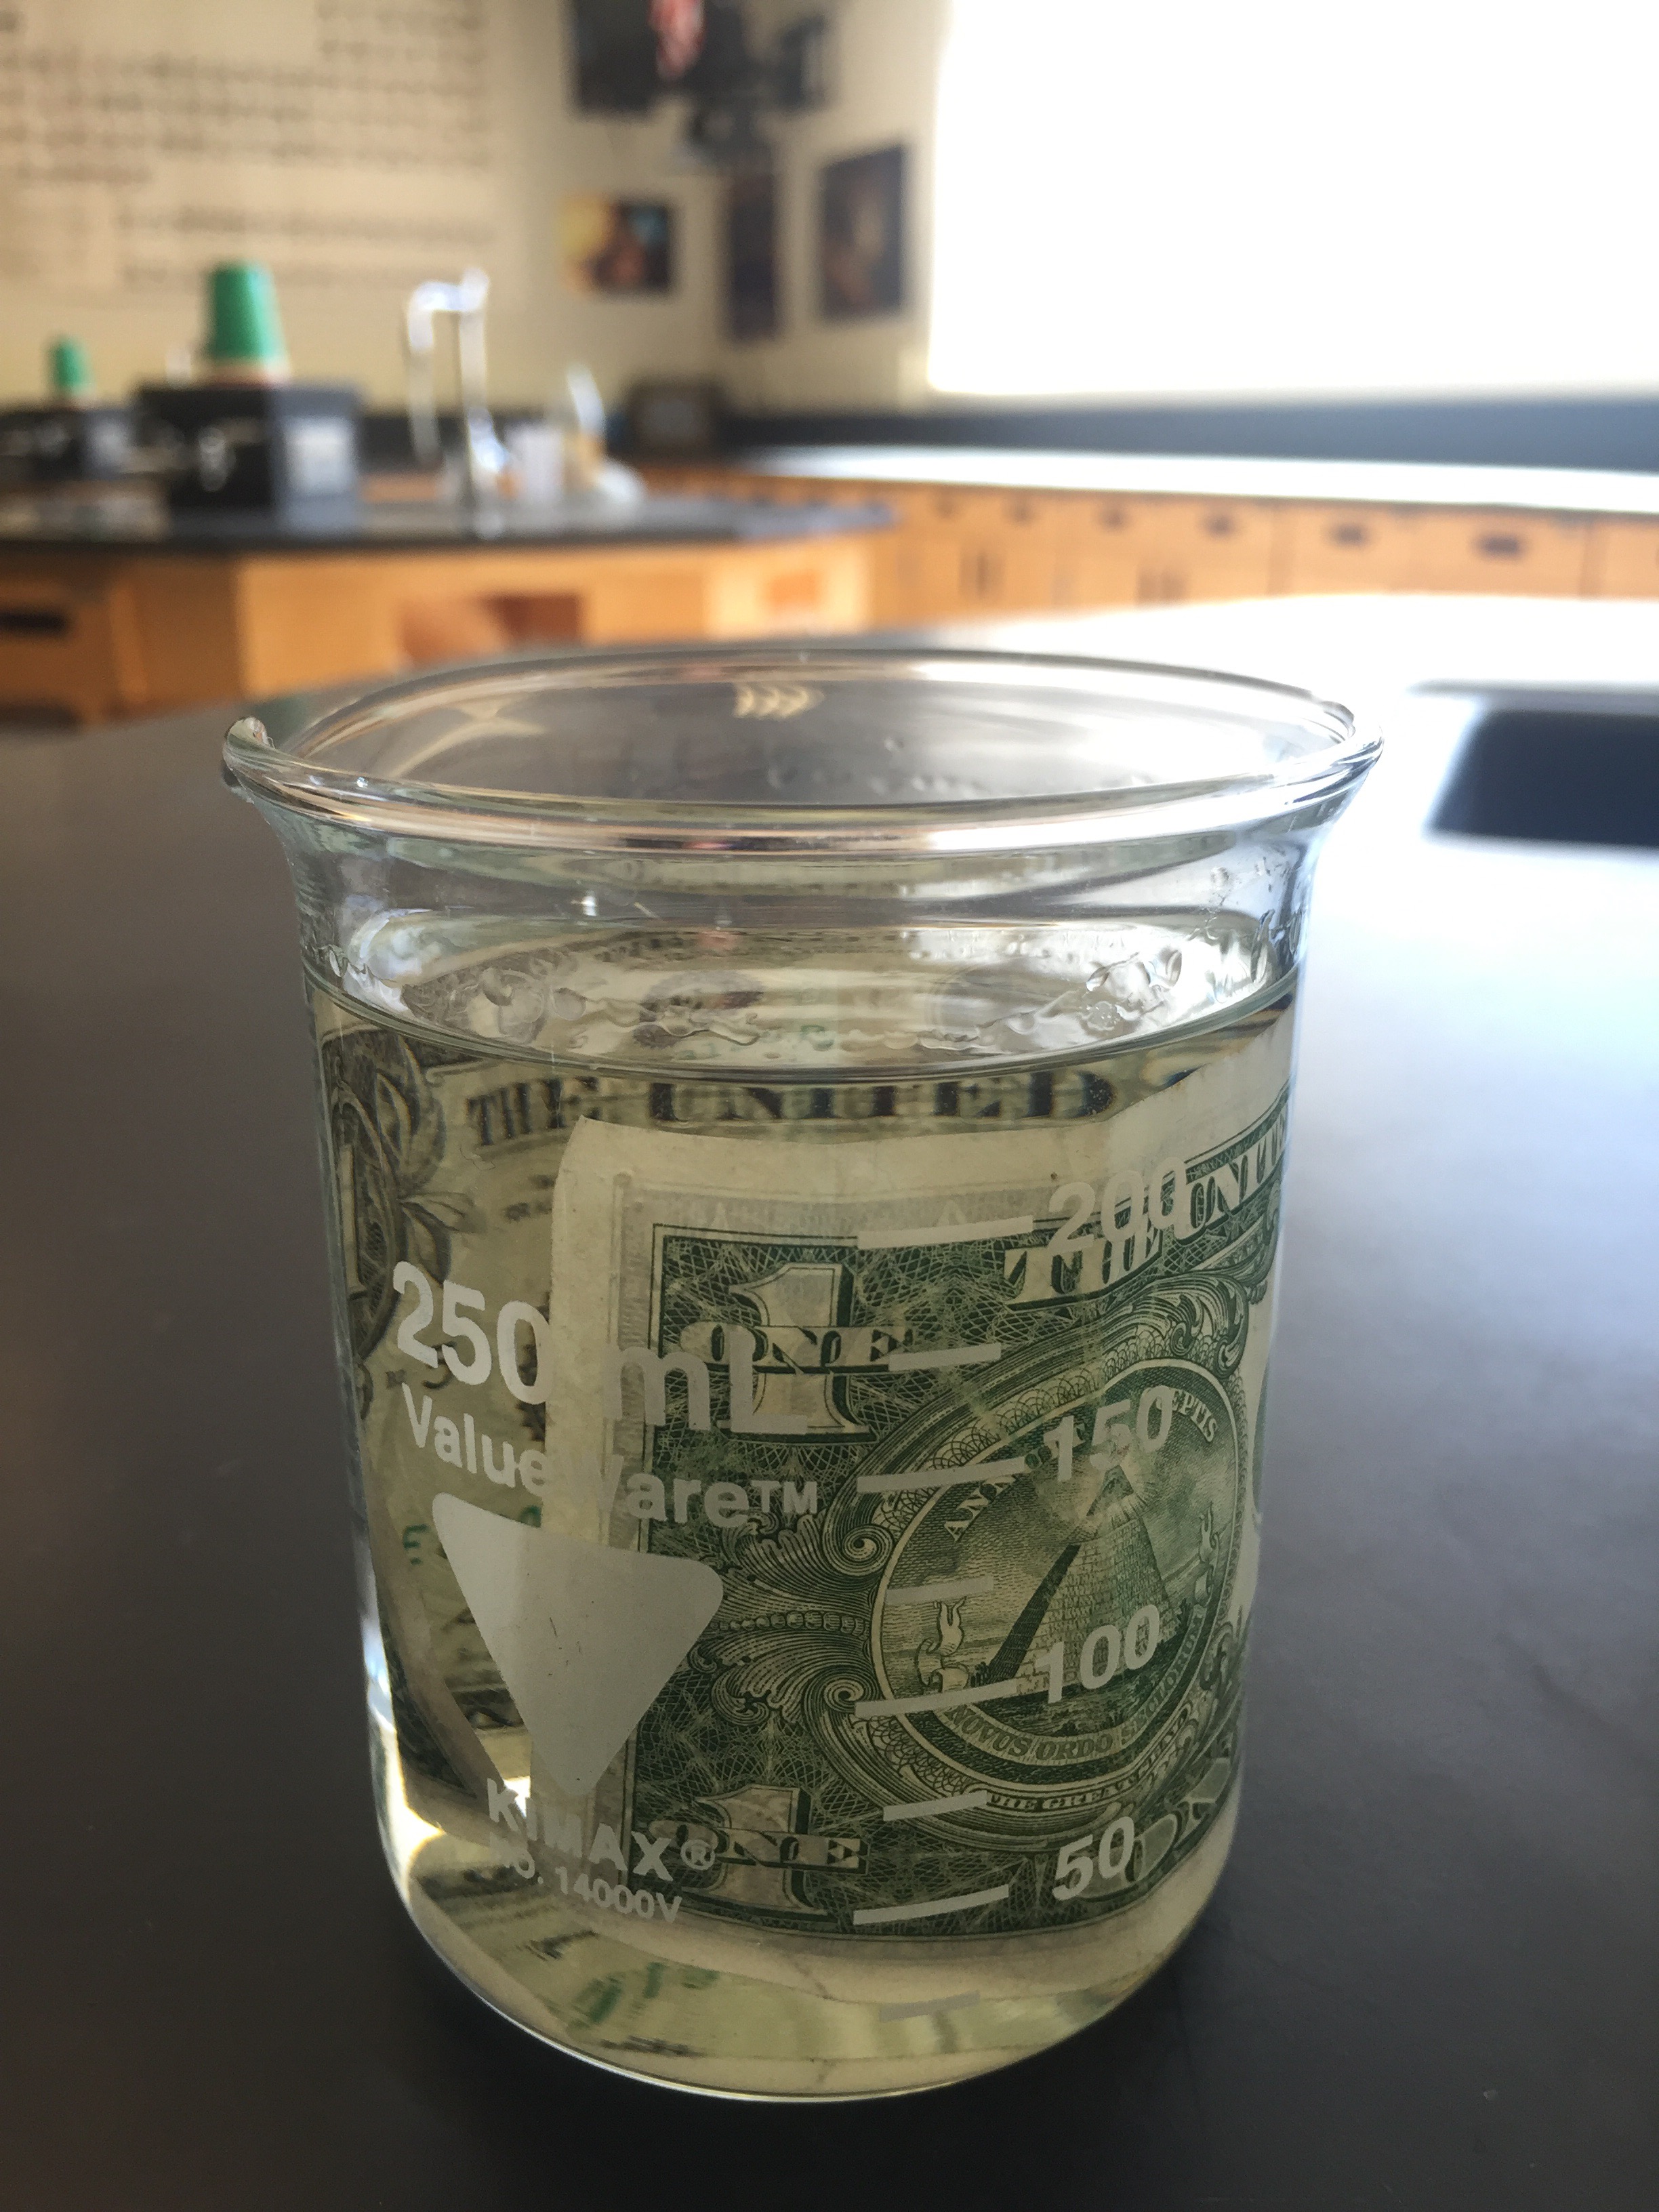
The Isopropyl should be diluted so it’s 50/50 Isopropyl and water. Add a pinch of salt to help increase the boiling point of the water (this will help keep the dollar bill from burning). Place the bill in the solution and allow it to soak for a few minutes.

After the bill has been allowed to soak in the solution for a few minutes, remove it from the beaker and move the beaker away from the demo area (you do not want such a large source of fuel near an open flame!!). Keep the fire extinguisher handy, just in case!
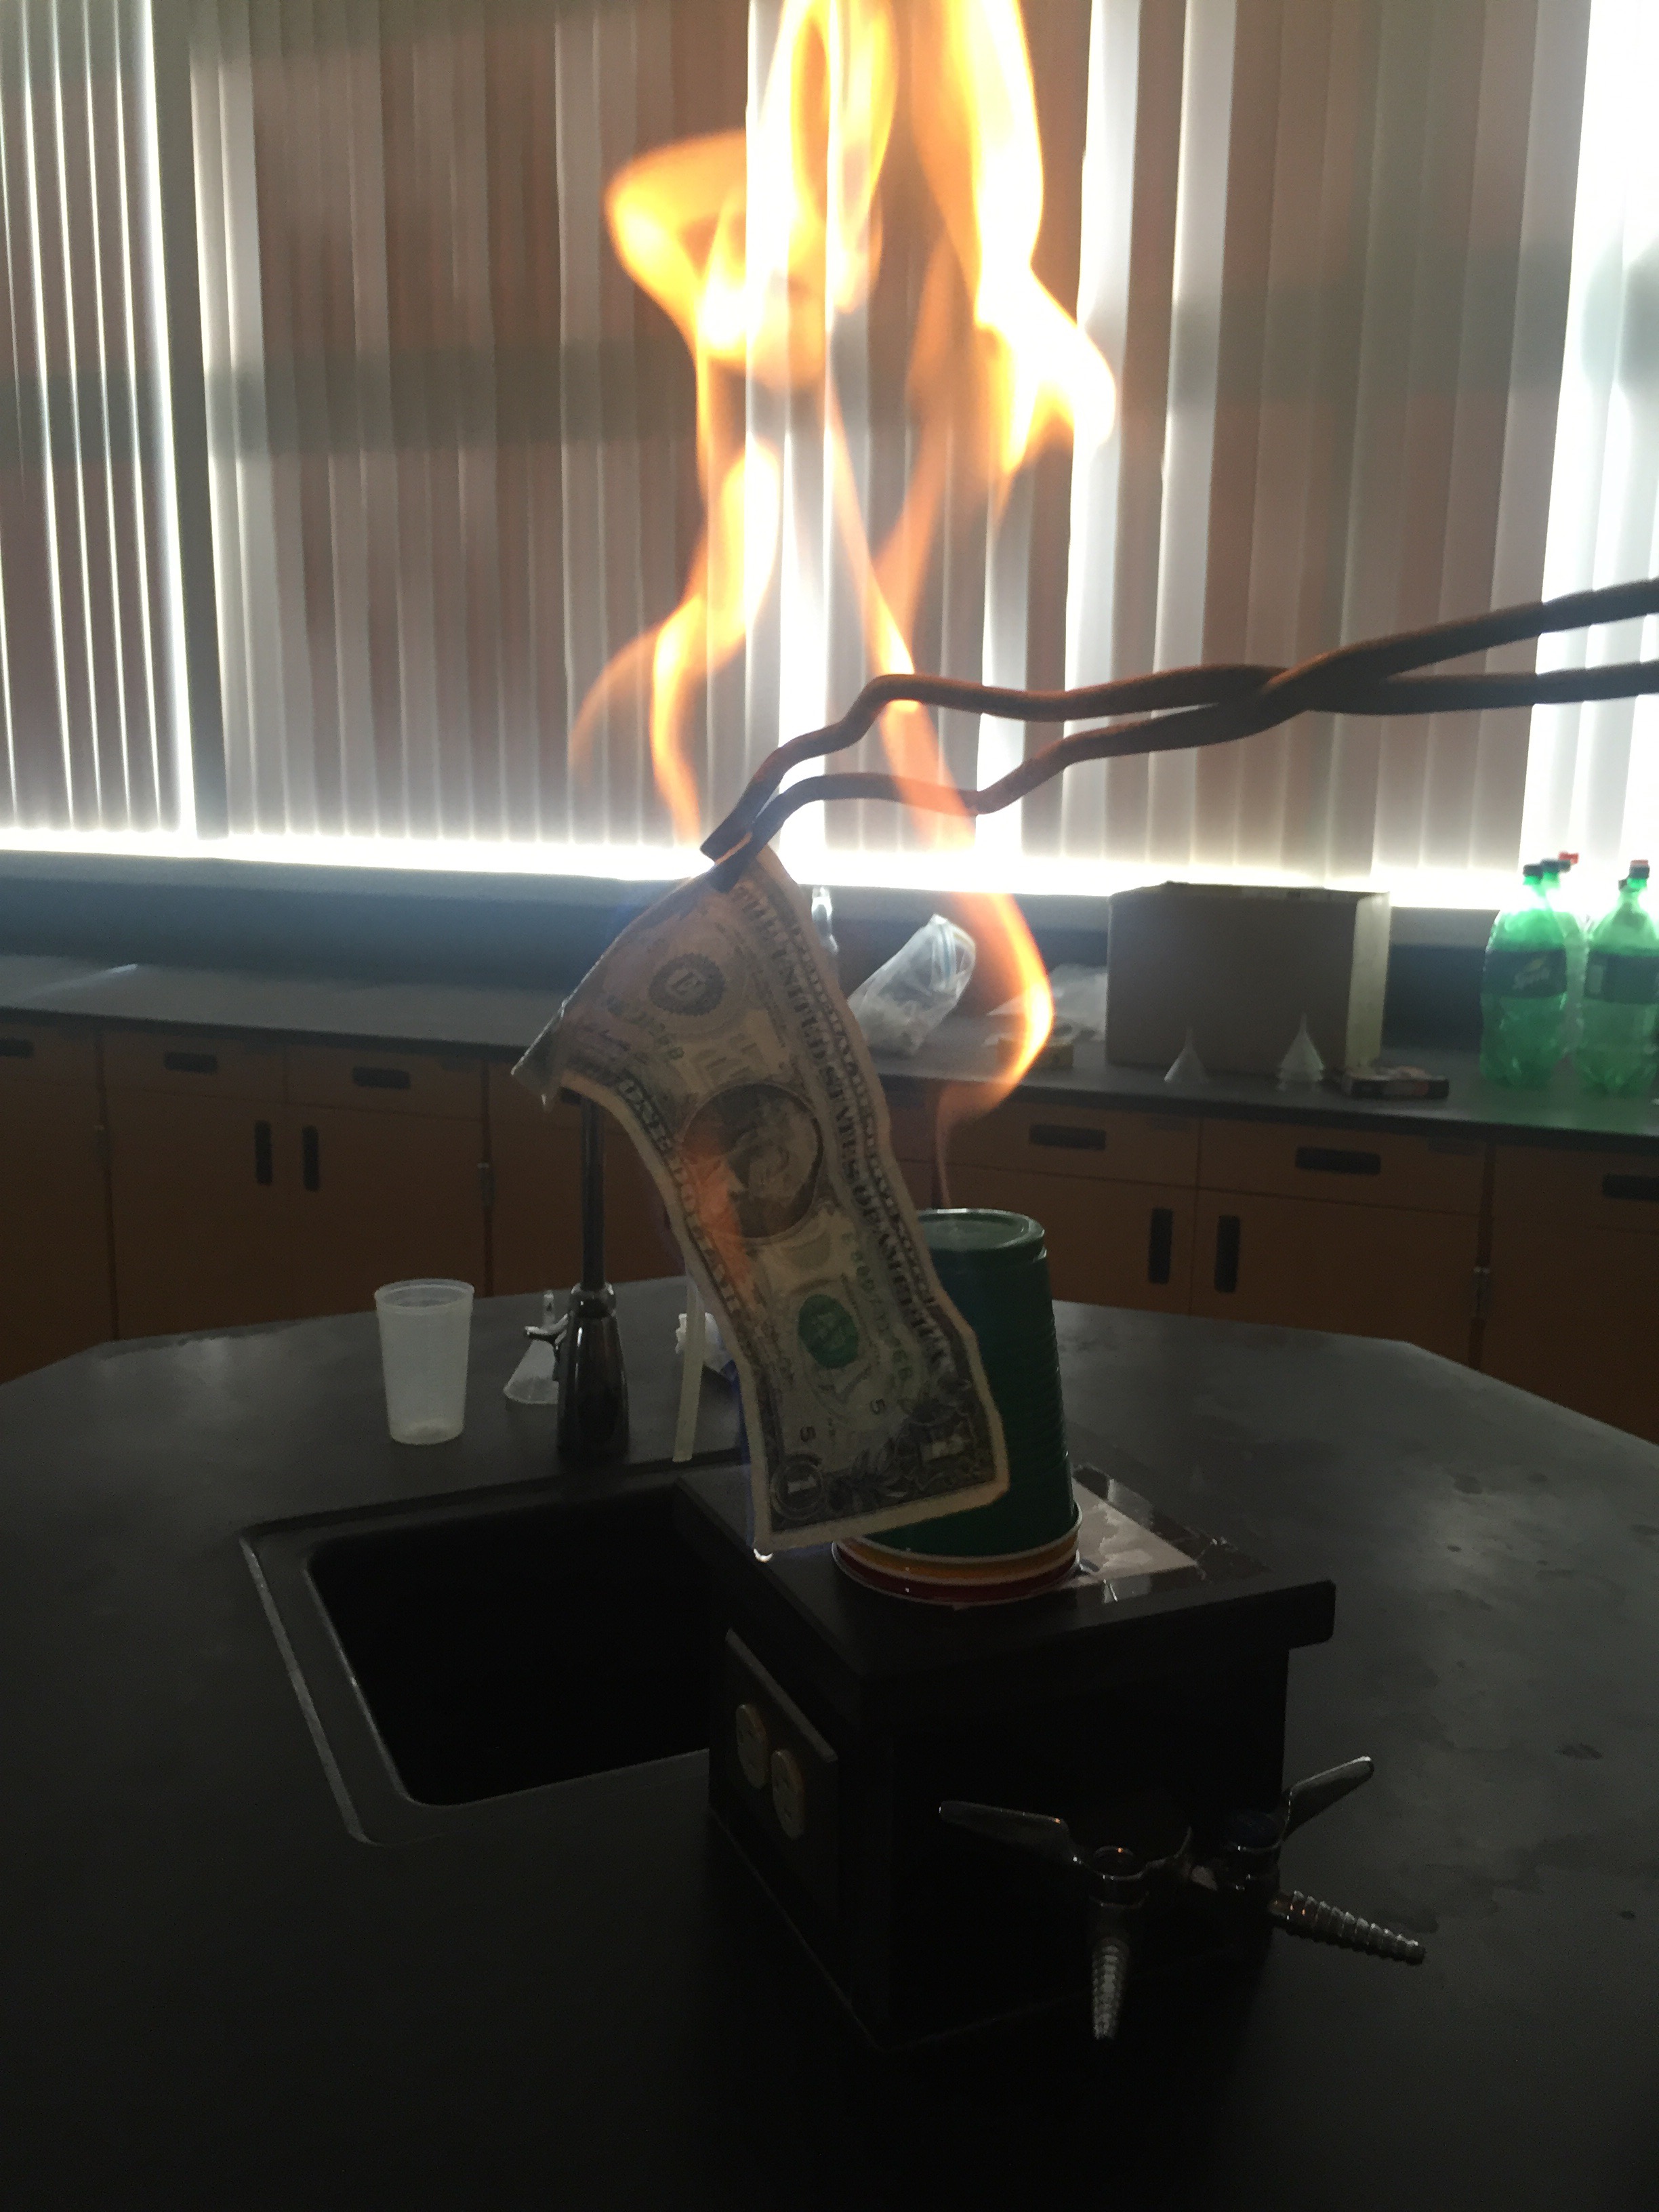
Expose the bottom of the bill to an open flame. You can use a lighter or a match for this. Thanks to my coworker for demonstrating this for the sake of me getting some good photos– I’m sure you could imagine that me lighting the bill on fire while trying to simultaneously get a photo would not be very safe.
The bill will ignite quickly and will burn for about 2-3 seconds before extinguishing. Be sure to hold on tight so as not to drop it!
As you can see, the bill is completely unscathed! The primary fuel source completely burned up, and the salt water kept the bill from getting hot enough to burn as a secondary fuel source!
The Disappearing Packing Peanut!
This is a fun demo to do! I got the idea from my fellow Chemistry teacher at the high school. We use the giant beaker of packing peanuts to represent all of the knowledge that needs to be acquired throughout the year and the tiny little beaker to represent the students brains (I made sure to assure them that it was not meant as an insult but rather shows the vastness of Chemistry). I then asked them if they thought I could get all of the “knowledge” into their “brains”. They said no. I slowly started adding packing peanuts and as they instantly dissolved, allowing me to add more and more, they began to smile. After I put about 10 in, I asked them if they still did not think the knowledge would fit. With a smile, they agreed that it would.

The materials needed for this lab: Packing peanuts, 100% acetone, tiny beaker (I used a 10m beaker), large beaker (I used a 2000ml beaker).

Here is the packing peanut “dissolving” in the acetone. It dissolves quite quickly, in about 3 seconds.
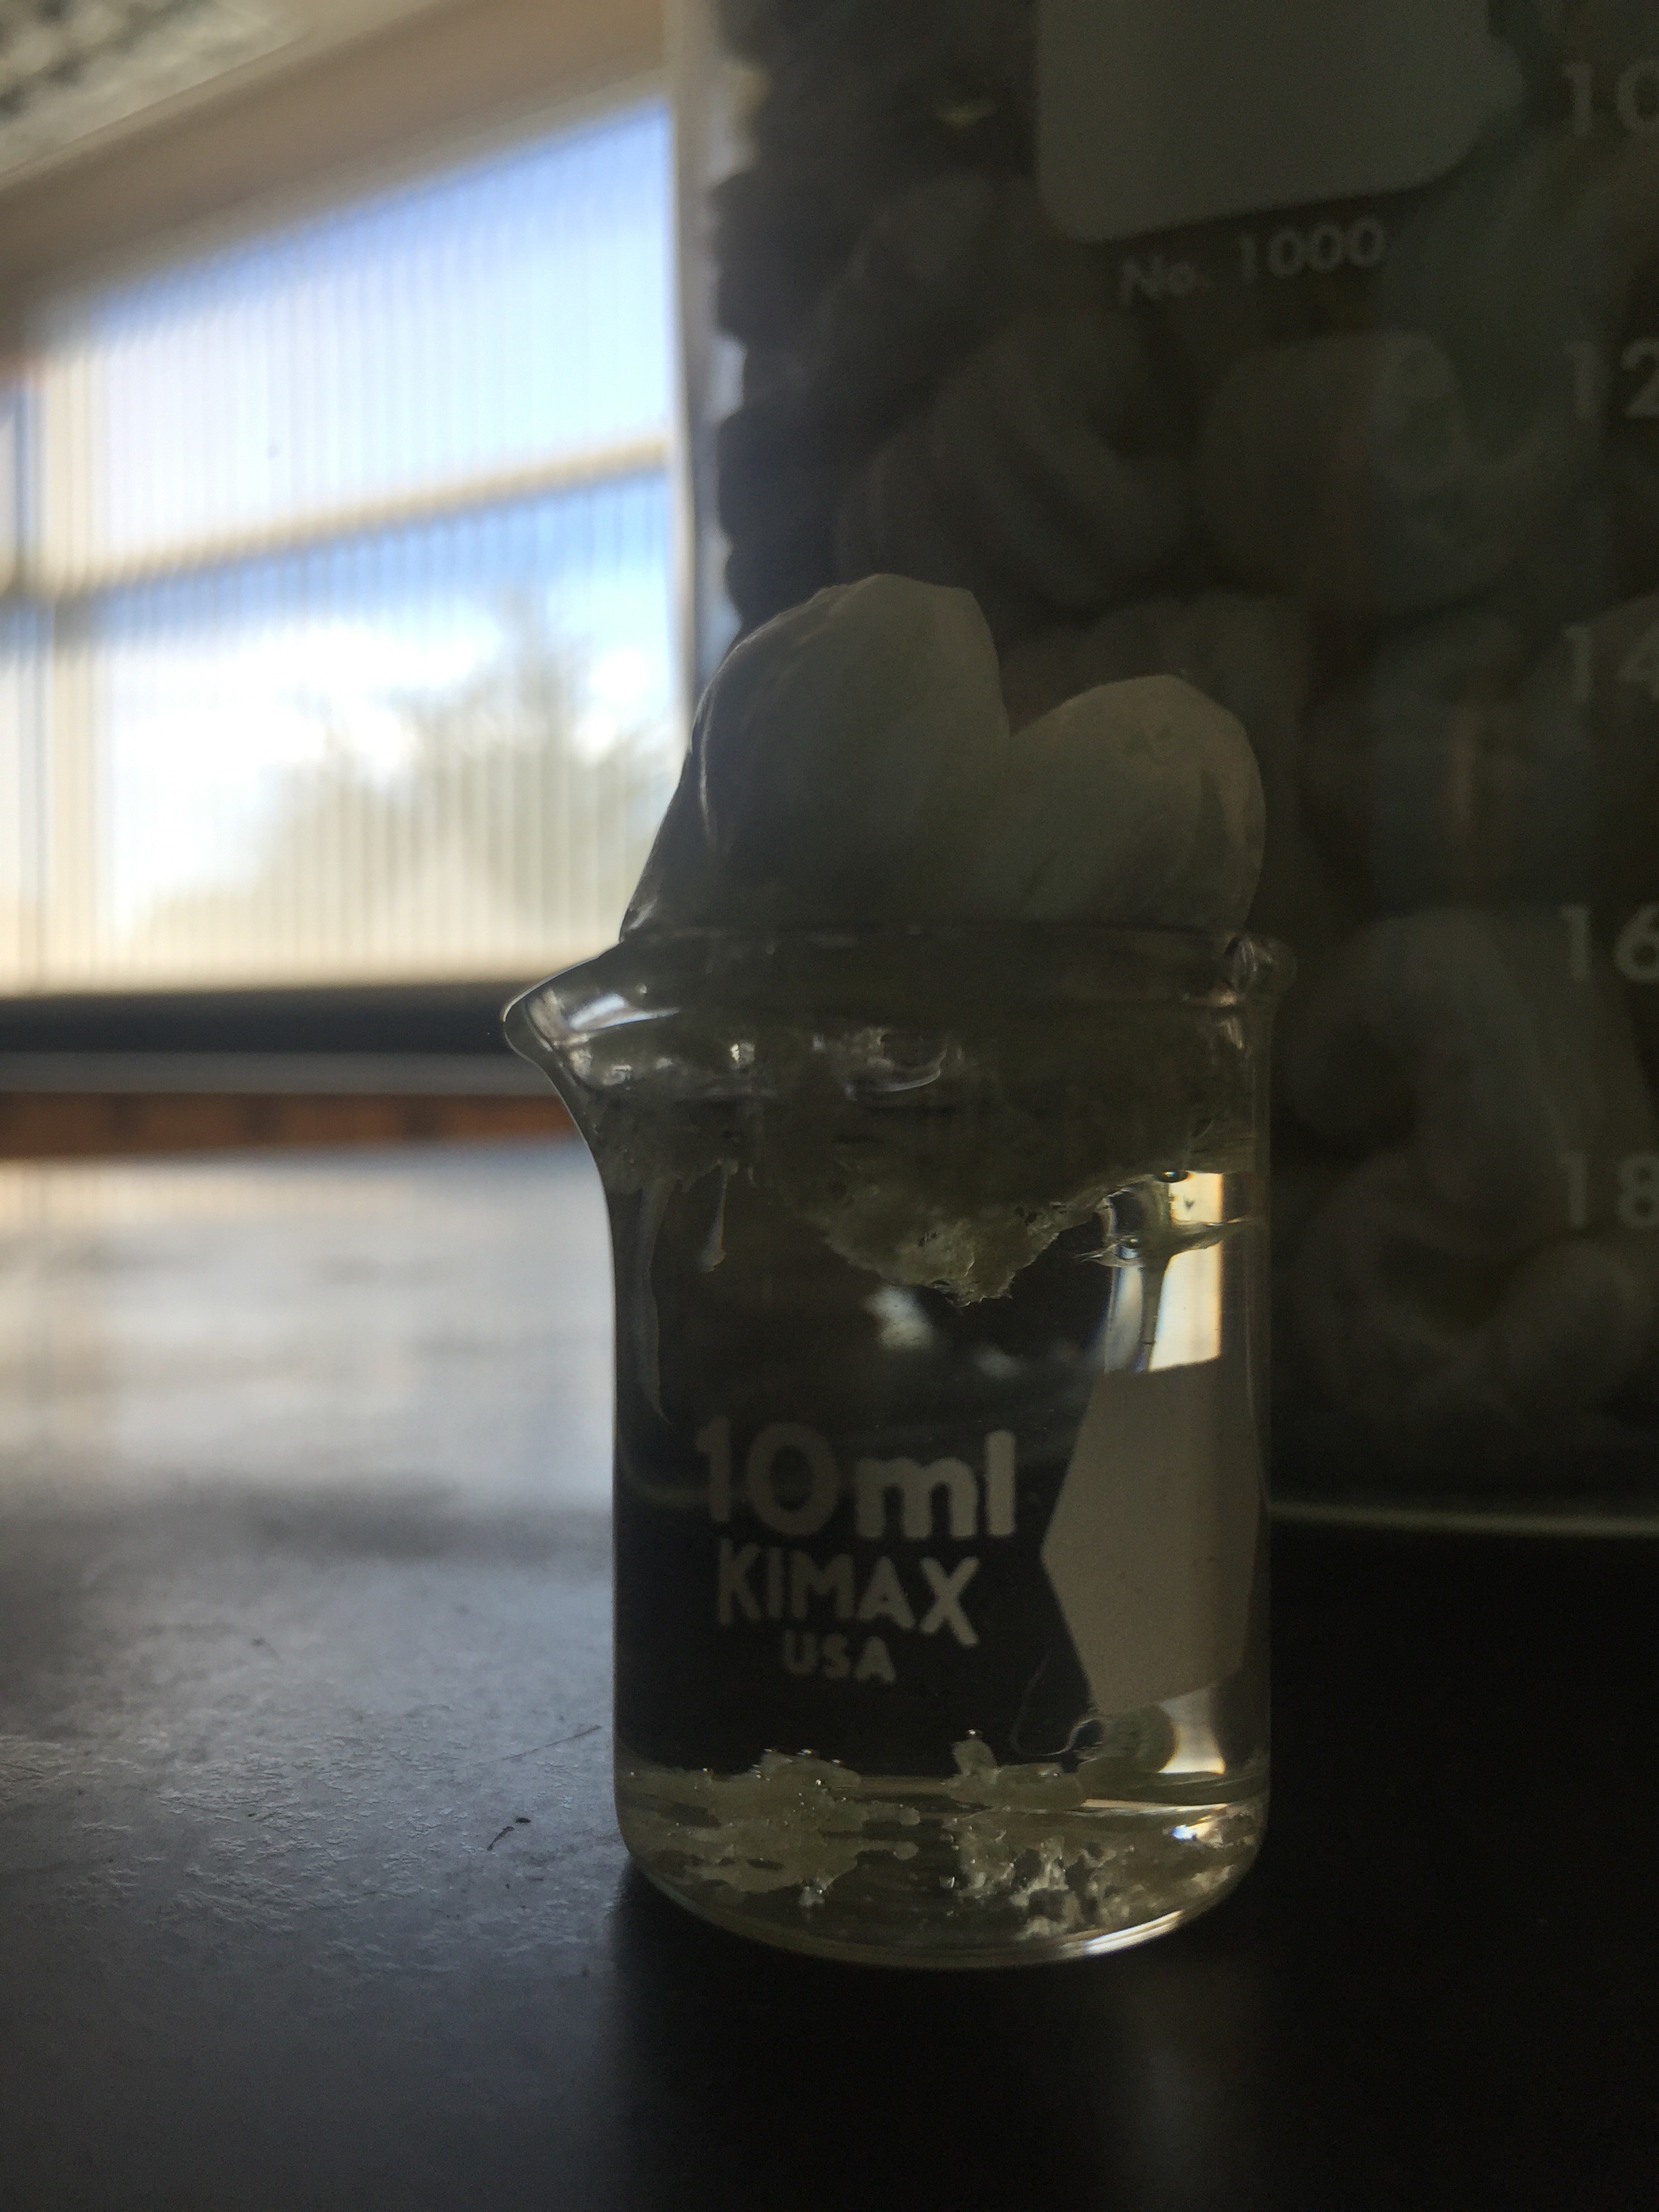
The peanut continuing the dissolve.

The packing peanut as it is almost entirely “dissolved”.
When doing any demo, I like to have my students write down observations, inferences and hypotheses as to what they think is going on. It’s a good way to keep them engaged during an otherwise “passive” (yet, exciting) learning experience. You can have them share out as you are going through the demo or afterwards.
I hope you get a chance to try at least one of these in your classroom!
Enjoy!
-The Ardent Teacher

